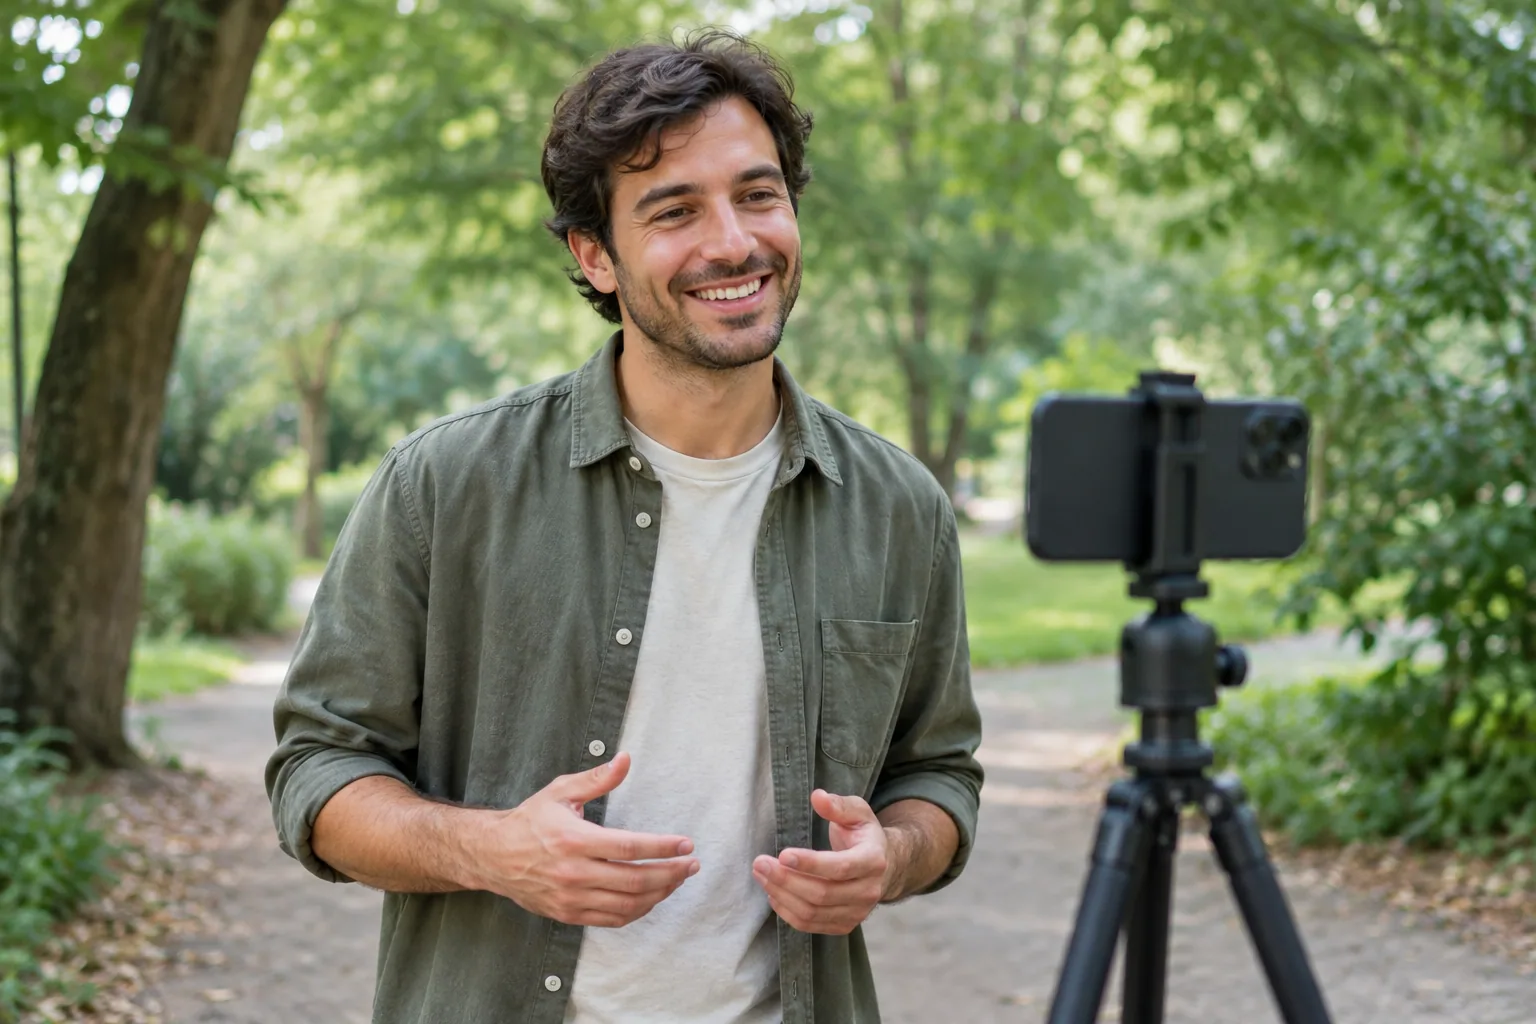
Clean your phone’s lens, find indirect window light or outdoor open shade, and secure the phone at eye level on a tripod or stable shelf. Mark where you’ll stand, set a timer, and take several frames before checking focus, lighting and framing. A recent smartphone is enough; you don’t need a photographer or a new camera.
Take your own dating photos with a phone and timer
Your basic kit is a phone, a secure support and a way to mark your position, such as a small piece of removable tape indoors. A compatible remote is convenient, but the camera’s built-in timer works too. Don’t balance your phone on a narrow ledge or an unstable stack of objects.
Start with one indoor spot and one nearby outdoor location. You can create variety by changing the framing, your position and what you’re doing, rather than visiting six places.
Use this 30-minute solo shoot plan
- Minutes 0–5: Prepare. Clean the lens, choose two everyday outfits and clear distracting objects from your background. Pick clothes you actually wear, with some contrast against the setting.
- Minutes 5–10: Test. Secure your phone, mark your position and take a test photo. Check that your eyes are sharp and your face is evenly lit.
- Minutes 10–18: Shoot your indoor options. Capture a head-and-shoulders portrait, a waist-up photo and a seated photo. Take several frames of each.
- Minutes 18–26: Shoot nearby outdoor options. Try a full-length photo, a real hobby scene and another everyday setting. Keep your phone within sight and out of walkways.
- Minutes 26–30: Review. Zoom in on faces, check full-length framing and reshoot the weakest setup before putting everything away.
If getting outside takes longer, use this session for your first three setups and finish the rest another day. Three distinct, usable photos are more helpful than six rushed ones.
Set up your camera, light and background
Start at 1x and check a test frame
Use the standard 1x lens to start. Avoid the ultrawide option for close portraits, and move the phone farther back when you need more of yourself in the frame. Don’t move the camera right up to your face to fill the picture; leave room and crop lightly afterward if needed.
The rear camera is a good starting choice, but you won’t be able to watch the screen while posing. The front camera makes framing easier. If you use it, look at the lens when the picture is taken, rather than watching your own face on the screen.
For either camera:
- Keep the phone upright for your first attempts, then preview the actual dating app’s crop later.
- Choose a timer long enough to reach your mark without rushing. Try 10 seconds if your phone offers it.
- If you use a remote, check compatibility and take a test shot before starting.
- Use ordinary photo mode first. Portrait mode is optional; inspect its blur around hair, glasses, fingers and clothing edges.
- Review an actual photo, not only the live camera preview.
Face the light instead of putting it behind you
Indoors, stand facing a window with indirect light. Put the phone between you and the window without blocking the light. If direct sun creates bright patches across your face, move to a different window or wait until the light softens.
Outdoors, use open shade: somewhere shaded but facing a bright, open area. The edge of a shaded porch or the shade beside a building can work. Check the frame for patches of sunlight across your face.
Avoid a bright window directly behind you, strong overhead bathroom lighting and combinations of daylight and differently colored lamps. If one side of your face looks orange and the other looks cool, switch off the lamp and test the window light alone.
Remove distractions before you shoot
Choose a background that leaves your face easy to see. Step away from the wall if space allows, and check for objects that appear to stick out of your head.
Remove laundry, packaging and unrelated clutter. Look for visible addresses, mail, work badges and reflections that reveal more of your home than you intended.
Wear something appropriate to the setting: an everyday top for a café-style shot, for example, or your normal hobby clothes for an activity photo. If a fine pattern looks strange in the test frame or your shirt disappears against the background, change the top or move the setup.
Follow a six-photo shot list
These six setups give you options to choose from. Six is a working shot list, not a dating-app requirement, and you don’t need to upload every result.
| Photo | Phone height and framing | Simple action | Suitable background |
|---|---|---|---|
| Clear head-and-shoulders portrait | Eye level; include your shoulders and space above your head | Look into the lens, breathe out and try a small smile | Plain wall near a window or uncluttered greenery |
| Waist-up casual portrait | Around upper-chest to eye level; include your hands if they’re part of the pose | Turn slightly and rest one hand in a pocket | Porch, simple wall or tidy living area |
| Full-length outdoor photo | Around waist height, held level; leave space above your head and below your shoes | Shift your weight onto one leg or take a slow step to your mark | Quiet path, courtyard or open patch of park |
| Seated café-style portrait | Seated eye level; frame from roughly the waist upward | Rest your forearms on the table, then look toward the lens | Home breakfast table or a quiet café with space to set up |
| Genuine hobby scene | Near face height for a seated hobby, or far enough back to show the activity | Tune your own guitar, tend a plant or work on something you actually make | The place where you normally do that hobby |
| Second everyday setting | Eye level; choose a different crop from your strongest portrait | Sit on a bench or pause during a walk | Nearby park, porch or another familiar location |
For the seated photo, you don’t need a café purchase or strangers in the background. A table near a window works. Keep your cup or hands below your chin so they don’t hide your face.
For the hobby photo, make the activity readable without letting equipment cover you. Use your own belongings and genuine interests. You don’t need an invented travel scene or borrowed props to make your profile feel varied.
Use simple movements instead of holding a stiff pose
Give yourself one small action per timer cycle. Trying to arrange your feet, hands, shoulders and expression all at once makes the process harder.
Repeat this sequence:
- Stand on your mark with your body turned slightly away from the phone.
- Let your shoulders drop and keep your face turned toward the lens.
- Shift your weight onto one leg without leaning out of the frame.
- Look briefly away, then return your gaze to the lens before the timer fires.
- Try one frame with a small smile and another with a broader smile or relaxed expression.
There’s no need to force the same expression in every photo. Compare the results and choose expressions you recognize from everyday life, rather than assuming one smile or serious look will guarantee more matches.
Give your hands a simple job. Rest one in a pocket, place them loosely on your lap or hold an object connected to the scene. Keep hands, cups and hobby equipment away from your eyes and mouth.
For walking shots, start a step behind your mark and move slowly toward it. If your phone supports repeated timer photos or a short burst with a remote, use that to get options. If moving photos keep coming out blurry, stop on the mark and let the camera capture the end of the movement instead.
Fix blur, awkward framing and timer mistakes
Before stepping into position, place a stand-in object where you’ll be, such as a chair with a bag near your expected face height. Use it to check the approximate framing and focus. Then take a test photo with yourself in place, because the stand-in can’t confirm that your eyes are sharp.
| Problem | What to check | Fix for the next shot |
|---|---|---|
| Background sharp, face blurry | The camera may have focused behind you | Refocus at your standing position using the controls your phone offers, then test again |
| Moving hands or face look smeared | You moved during the exposure, or the light is too dim | Find brighter indirect light and pause as the timer fires |
| Everything looks tilted | The phone or support is leaning | Level the phone against a doorframe or other straight background line |
| Feet or top of head are cropped | You filled the frame too tightly | Move the phone back and leave space around yourself |
| Dark eye sockets or harsh facial shadows | Light is overhead or direct | Face a window or move into open shade |
| Frame is empty when the timer fires | You needed more time to reach the mark | Choose a longer available timer or move your starting position closer |
| Entire image looks soft | The lens may be dirty or the support moved | Clean the lens, secure the phone and avoid touching it during capture |
Review each setup before moving on. Zoom in on your eyes, inspect the edges of the frame and check the background. It’s easier to retake one photo now than rebuild the setup later.
Cropping can remove extra background, and a modest exposure adjustment can help a slightly dark image. Neither reliably fixes missed focus, motion blur or missing feet. Reshoot those rather than trying to rescue them with heavy editing.
Choose a varied set that still looks like you
Lead with a clear solo portrait so someone can immediately see who you are. Follow it with different framing and real-life context, rather than several versions of the same headshot.
Use this selection checklist:
- Current likeness: You look the way you do now, including your usual hair, facial hair and glasses. A year-old photo may still fit, but replace it if your appearance has changed.
- Visible eyes: Your lead image doesn’t hide your eyes behind sunglasses or shadows.
- Sharp face: Details hold up when you zoom in.
- Natural expression: The expression feels familiar rather than forced.
- Distinct framing: The set includes more than close portraits.
- No near-duplicates: Each selected image adds something different.
- Accurate context: The activities and settings reflect your actual life.
Keep your original files before cropping or making light exposure adjustments. Upload from those files rather than screenshots or copies passed through messaging apps. Preview each image inside the dating app, because its crop may cut off details that were visible in your camera roll.
Keep AI portraits optional and clearly separate from real experiences
Build your current real-photo set first. If you want a creative supplement afterward, explore optional AI dating portraits. Selfie AI can use your own selfies to create a personalized AI model and generate additional portraits.
If you try it, capture separate input selfies using this guide to lighting, angles and authenticity for AI portraits. Keep current real photos as the foundation of your profile, and don’t present generated settings or activities as evidence of trips you took or hobbies you practice.
Check the destination app’s current rules before posting generated images. For help judging what fits the context, read this guidance on choosing AI portraits for dating and other profiles.
For your first session, choose one window, secure your phone and mark a standing spot. Take five head-and-shoulders photos, inspect the sharpest one, and fix that setup before moving to the rest of the shot list.