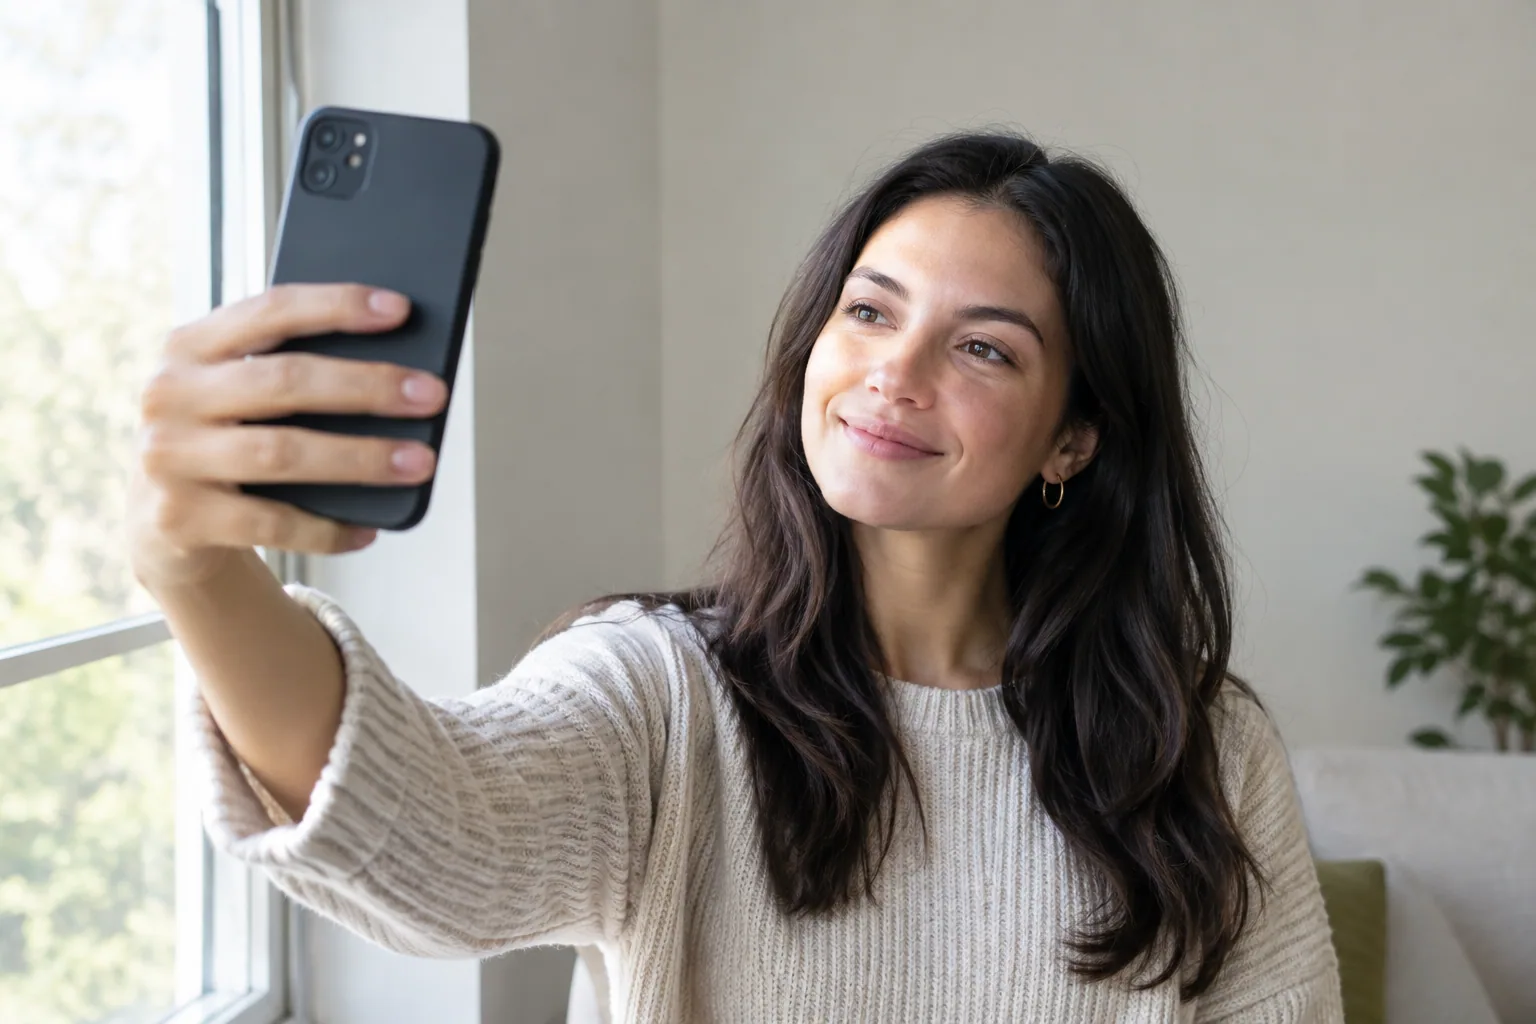
For a better Android selfie, clean the front lens, face a window or open shade, and use your phone’s built-in Camera app in standard Photo mode. Hold the phone around eye level at a comfortable arm’s length, tap your face where focus control is supported, and use a short timer to keep the phone steady.
Take a better Android selfie in six steps
Start without beauty effects or Portrait mode so you can judge the lighting and sharpness before adding anything else. Menu names and available controls vary by phone and camera-app version.
- Clean the front lens. Wipe the camera area with a clean microfiber cloth. Fingerprints can make the picture look hazy, especially around lights.
- Face soft light. Stand facing a window indoors or move into open shade outside. Avoid putting a bright window directly behind you.
- Open Camera and select Photo. Switch to the front camera using the camera-switch icon. Turn off optional face smoothing, beauty effects, and filters for your first shots.
- Start at arm’s length. Hold the phone around eye level, keep your face near the center, and include some space above your head and around your shoulders.
- Check your face in the preview. Tap your face if the camera supports focus or exposure selection. If an exposure slider appears, adjust it until your face is clear without losing detail in bright areas.
- Use a short timer. Choose a delay of a few seconds if available, press the shutter, then hold still until capture finishes.
Take three pictures before changing anything. Compare them at full size, not just as small gallery thumbnails.
Check the selfie settings on your Android phone
Android does not have one universal selfie-settings menu. Use the controls below as a guide, and check your phone’s official support page if the labels differ. These are manufacturer-documented controls, not a claim of hands-on testing on a particular model or software release.
Google Pixel: check retouching, the timer, and saved orientation
Open Pixel Camera, choose Photo, and switch to the front camera. Open the camera’s settings controls, then look for the following options:
- Timer: Select a short delay for a steadier handheld shot or a supported-phone setup.
- Face retouching: Choose Off when that control is available. This gives you a useful baseline for comparing lighting and detail.
- Save selfies as previewed: Look in the camera settings, including More settings if shown. Enable it if you want the saved selfie to match the orientation you saw in the preview.
The Pixel Camera selfie guide explains saved-selfie orientation and supported hands-free controls. Pixel 6 and later, including Fold models, support Palm Timer: your face and raised palm need to be visible to trigger the timer.
For brightness, check the controls your camera displays after tapping your face or opening its adjustment controls. Do not assume your Pixel will show the same exposure slider as another Android phone. Tapping also cannot guarantee a focus change on every front-camera configuration.
Samsung Galaxy: check face effects and normal versus wide view
Open Camera → Photo, then tap the camera-switch icon. Samsung’s selfie camera instructions cover front-camera controls, including normal and wide views on supported phones.
Check these settings before shooting:
- Timer: Find the timer in the camera toolbar or quick controls and select a short delay.
- Face or beauty effects: Open the effects controls if available, then turn off smoothing and other face adjustments for your baseline photo.
- Save selfies as previewed: Look in Camera settings for this option. Turn it on to keep the preview’s orientation, or off to save the opposite orientation.
- Normal or wide view: Start with normal for a solo selfie. Use wide when you need more room for another person or the surroundings, keeping faces away from the edges.
On supported Galaxy phones, tapping the preview can reveal a brightness control. Adjust it only if needed, watching the detail on your forehead and cheeks rather than trying to brighten the whole background.
For hands-free capture, look under Camera settings → Shooting methods → Show palm, where available. Samsung’s Show palm instructions explain how raising your palm toward the front camera triggers a selfie.
Other Android brands: match the function, not the menu name
In your camera settings, look for Timer, Beauty or Retouch, Mirror selfie, and Grid. Search your manufacturer’s official support site using your exact model name plus the setting you need. If a control is absent, do not assume another camera app will add the same capability.
Saved-image mirroring is separate from the live preview. A mirrored preview may still produce an unmirrored saved photo. Changing this setting reverses left and right; it does not improve focus or resolution.
Find light that keeps your face clear
Indoors, face a window rather than standing with the window behind you. If direct sunlight makes you squint or creates a hard line across your face, move out of the sunbeam while still facing the window. Google’s Pixel photo tips recommend natural, indirect light and avoiding harsh sunlight.
Outside, try open shade beside a building or under an overhang, facing the brighter open area. Check the preview for patches of sunlight on your face, especially under trees.
Overhead lighting can leave your eyes in shadow. Turn toward a light in front of you, or move so the main light comes from nearer eye level. If a bright background leaves your face dark, change your position before increasing exposure, which may make the background lose detail.
If there is no window, face a broad, diffused room light rather than standing directly beneath a ceiling bulb. Avoid mixing a warm lamp on one side with cool daylight on the other if it gives your face uneven color.
Some phones offer screen illumination for front-camera photos. Try it when your face is too dark, but compare the result with a photo taken in better room light. Moving to a brighter spot is usually more useful than trying to rescue a dim shot afterward.
Make a same-phone, same-person comparison with beauty effects disabled:
- Take one photo under the overhead light and another facing a window.
- Keep your distance and framing similar.
- Compare eye detail, shadows, and color in the saved files.
Set your distance, framing, and timer
A front camera held very close changes perspective: features nearest the lens appear larger relative to features farther away. Start at a comfortable arm’s length instead of filling the frame by bringing the phone close to your face.
Take one close handheld frame and one at arm’s length using the same camera view. Compare the proportions before choosing your preferred distance. There is no single camera height or angle that works for everyone, so begin near eye level and make small changes.
Keep your face away from the frame’s outer edges, particularly in wide view. Leave space around your head and shoulders so a square or circular profile crop does not cut off your hair or chin. For an Instagram-specific composition, use these profile picture ideas to choose a background and crop before taking more photos.
For a steadier picture, place the phone in a secure stand on a stable surface, with the lens unobstructed. Frame the shot, set the timer, and settle into position before it fires. Do not balance the phone on a narrow edge where it could fall.
Fix blurry, mirrored, or overly processed selfies
Check the saved image before changing several settings at once. Use the symptom to choose your next adjustment.
| What you see | Likely cause | What to try |
|---|---|---|
| Haze or streaks around lights | Smudged front lens | Clean the lens area with a microfiber cloth and retake the photo. |
| Soft detail in a dim room | Movement during capture | Move into better light, support the phone, and use a timer. |
| Background looks clearer than your face | Focus selection, where adjustable, or unsuitable distance | Tap your face if supported, then try again from arm’s length. Some front cameras have fixed focus. |
| Camera photo looks better than an in-app selfie | Different capture processing or compression | Shoot in the native Camera app, then upload the original photo. |
| Text on clothing appears reversed | Saved-selfie mirroring | Change the saved-orientation setting. This affects direction, not sharpness. |
| Skin detail looks smoothed away | Optional retouching or camera processing | Disable beauty effects and filters, then compare. Some built-in processing may remain. |
| Hair edges look cut out or blurred | Portrait-mode subject separation | Switch to standard Photo mode and try a simpler background. |
Turning off face retouching does not turn off all image processing. Start with better light and a clean lens before looking for a setting that promises an entirely unprocessed selfie.
Choose a keeper for your profile or AI portraits
Open your best few photos and check:
- Eyes: Are they sharp when you zoom in?
- Exposure: Can you see detail in both the bright and shaded parts of your face?
- Background: Is anything distracting behind your head?
- Crop: Does the photo still work as the square or circle your profile needs?
- File quality: Are you keeping the original rather than a screenshot or a repeatedly compressed copy?
For AI portraits, select a few clear photos of yourself with varied angles and no heavy effects. This guide to choosing input selfies for AI portraits can help you decide which shots to upload.
Selfie AI can use a few of your own selfies to create a personalized model for portraits in styles such as professional or formal. Generating a new portrait is an optional separate step, not a way to recover missing detail from a blurry original. If that is your goal, explore the AI selfie app workflow after choosing your clearest files.
FAQ
Should I use the front or rear camera for an Android selfie?
Start with the front camera because you can see your framing and expression. The rear camera may give you better detail, depending on the phone, but it is harder to compose without seeing the screen. Try it with a secure stand and timer, then compare the saved photos at the same crop.
Why does my Android selfie look different after I take it?
The saved photo may have a different orientation from the preview, and the camera may apply processing after capture. Optional retouching, filters, and Portrait effects can also change the result. Take one well-lit photo in standard Photo mode with optional effects off, then check the saved-selfie mirroring setting if left and right appear reversed.