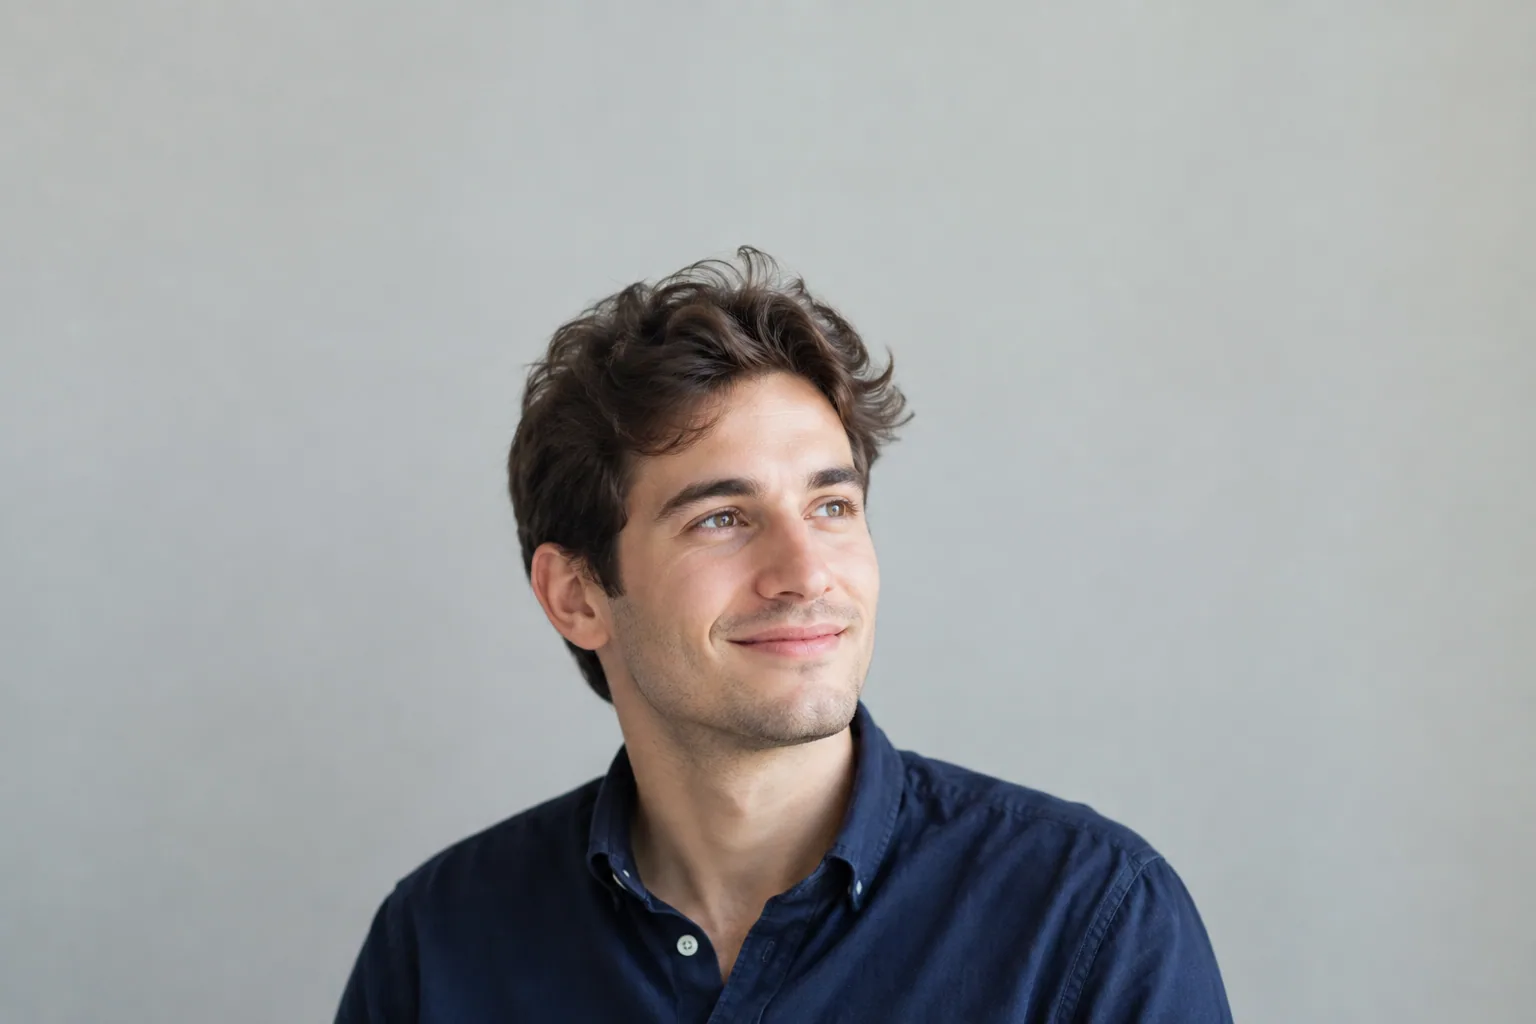
Use a 400 × 400-pixel image for your LinkedIn profile photo, with a square 1:1 aspect ratio, saved as JPG or PNG and no larger than 8 MB. LinkedIn displays it in a circle, so leave room around your hair and chin rather than cropping tightly to the square’s edges.
What size should your LinkedIn profile picture be?
| Setting | What to use |
|---|---|
| Recommended prepared size | 400 × 400 pixels, or a larger, sharp square original |
| Minimum upload dimensions | 400 × 400 pixels |
| Maximum upload dimensions | 7680 × 4320 pixels |
| Prepared aspect ratio | 1:1, a square |
| File format | JPG or PNG |
| Maximum file size | 8 MB |
| Display shape | Circle |
LinkedIn’s photo upload requirements list the supported dimensions, formats, and file-size limit. The maximum dimensions are an upload ceiling, not a recommended export target; you do not need to make your portrait that large.
400 × 400 is both a practical export size and the listed minimum, not the largest image LinkedIn accepts. If your original is larger and sharp, keep that original and prepare a square copy rather than shrinking your only version.
Crop your portrait for LinkedIn’s circular frame
A square file has corners; a circular display hides them. Anything near those corners, including shoulders or loose hair, may disappear even though it is visible in your saved image.
- Duplicate your original. Work on a copy so you can undo the crop later.
- Select a square crop. Choose a 1:1 aspect ratio in your photo editor rather than estimating it by eye.
- Center your face. Keep your eyes, nose, and mouth comfortably inside the middle of the frame.
- Leave space above your hair. Avoid placing the top of your head directly against the upper edge.
- Include your chin and some shoulders. The outer shoulders can fall outside the circle, but your chin should not touch its lower edge.
- Check a circular preview. Use LinkedIn’s upload preview before committing to the crop.
For a useful side-by-side comparison, duplicate the same photo of yourself and make these two crops:
| Visual check | Overly tight crop | Comfortable head-and-shoulders crop |
|---|---|---|
| Above your head | Hair touches the top edge | Background remains visible above your hair |
| Beside your face | Cheeks sit close to the edges | Space remains on both sides |
| Below your face | Chin approaches the bottom edge | Chin is clear, with shoulders visible below |
| Inside the circle | Hair or chin gets clipped | Your whole face stays visible |
LinkedIn’s own profile-picture guidance suggests having your face fill about 60% of the frame. Treat that as a framing guide, not a measurement you need to calculate precisely.
Check the result at a small size, too. If your face becomes hard to recognize, move the crop slightly closer without sacrificing headroom.
Export a clear JPG or PNG without enlarging a tiny photo
Start with the original full-resolution portrait, not a screenshot, messaging-app copy, or image downloaded from another social profile. Those copies may have already lost detail through resizing or compression.
Choose the format based on the file you have:
- JPG: Suitable for photographic portraits. Select a high-quality export setting, then check the file size.
- PNG: Keep an existing PNG if it looks clear and fits under 8 MB. There is no need to convert it just to change the extension.
- HEIC or another format: Export a JPG or PNG copy. Renaming the filename extension does not convert the image.
Increasing a tiny image from 150 × 150 to 400 × 400 pixels cannot recover missing facial detail. Likewise, cropping a small face out of a large group photo can leave too few pixels for a clear portrait.
Check these settings before saving
- Use a square crop with both dimensions at least 400 pixels.
- Keep the file at or below 8 MB.
- Select JPG or PNG.
- Inspect your eyes, hairline, and face for blur or blocky edges.
- Export from the original rather than repeatedly opening and resaving a compressed JPG.
- Keep the uncropped original separately.
If the source is too small or unsuitable, take a new photo or consider a professional portrait made from your own selfies. Selfie AI can generate professional business portraits from your selfies, but you still need to check the downloaded image’s dimensions, file size, and crop separately.
Before generating a replacement, use this guide to choose clear input selfies with suitable lighting and angles. A new portrait is an option when the source is unsuitable, not the first fix for a failed upload.
Upload your photo and check the final preview
On desktop, open your LinkedIn profile and select your profile photo to access its editing controls. In the mobile app, open your profile and tap the photo or its edit control; the exact wording can vary by app version and whether you already have a photo.
- Choose the option to add or change your photo.
- Select the prepared JPG or PNG from your device.
- Adjust the position and zoom in the crop preview.
- Check the top of your hair, both sides of your face, and your chin inside the circle.
- Save or apply the change, then reopen your profile to inspect the result.
Review it at normal viewing size, not only enlarged in the editor. Check on desktop and mobile if both are available, paying attention to whether your face remains easy to recognize in the smaller display.
For an AI-generated headshot, compare it with a recent photo of yourself before uploading. Check that your facial features and apparent age remain recognizable, then inspect teeth, glasses, ears, hair edges, and clothing for obvious artifacts. Choose another result if something looks wrong rather than trying to hide it with a tight crop.
Fix blurry, cut-off, or rejected profile photos
First, open the exact exported file on your device. If it is already blurry there, you have an image-quality problem; if it looks clear locally but fails or appears wrong on LinkedIn, investigate the upload or display separately.
| Symptom | Likely cause | What to try |
|---|---|---|
| Face looks blurry in the exported file | Low-resolution source or heavy cropping | Return to the original and crop less tightly, or choose a sharper source |
| Hair or chin is cut off | Too little space around your head | Widen the square crop, then check the circular preview |
| Upload is rejected | Unsupported format, file over 8 MB, or dimensions below the minimum | Export a valid JPG or PNG and check its dimensions and file size |
| Photo gets softer with each edit | Repeated compressed exports | Make all edits from the original and export one fresh copy |
| Local file is clear, but LinkedIn looks soft | Display scaling or platform processing | Check at normal size on another device or browser before changing the portrait |
| Crop looks right in the editor but wrong afterward | Position or zoom did not save as expected | Reopen the photo controls, adjust the circle preview, and save again |
Test a fresh export from your original before regenerating a portrait. That helps you avoid replacing a good photo when the problem is simply its format, crop, or saved copy.
FAQ
What is LinkedIn cover picture size?
Your cover picture is the wide background banner behind your profile photo, so the square profile-photo settings above do not apply. Check the current size recommendation in LinkedIn’s background-photo uploader before preparing it. Keep essential text away from the area overlapped by your profile photo, and preview the banner on desktop and mobile.
Can I use the same photo for my LinkedIn profile and resume?
Yes, if including a photo is appropriate for the application, though many U.S. resumes omit one. Use the same original portrait, but make separate crops for LinkedIn’s circle and your resume layout. Save your LinkedIn copy first, then create the resume version from the original rather than downloading your LinkedIn thumbnail.