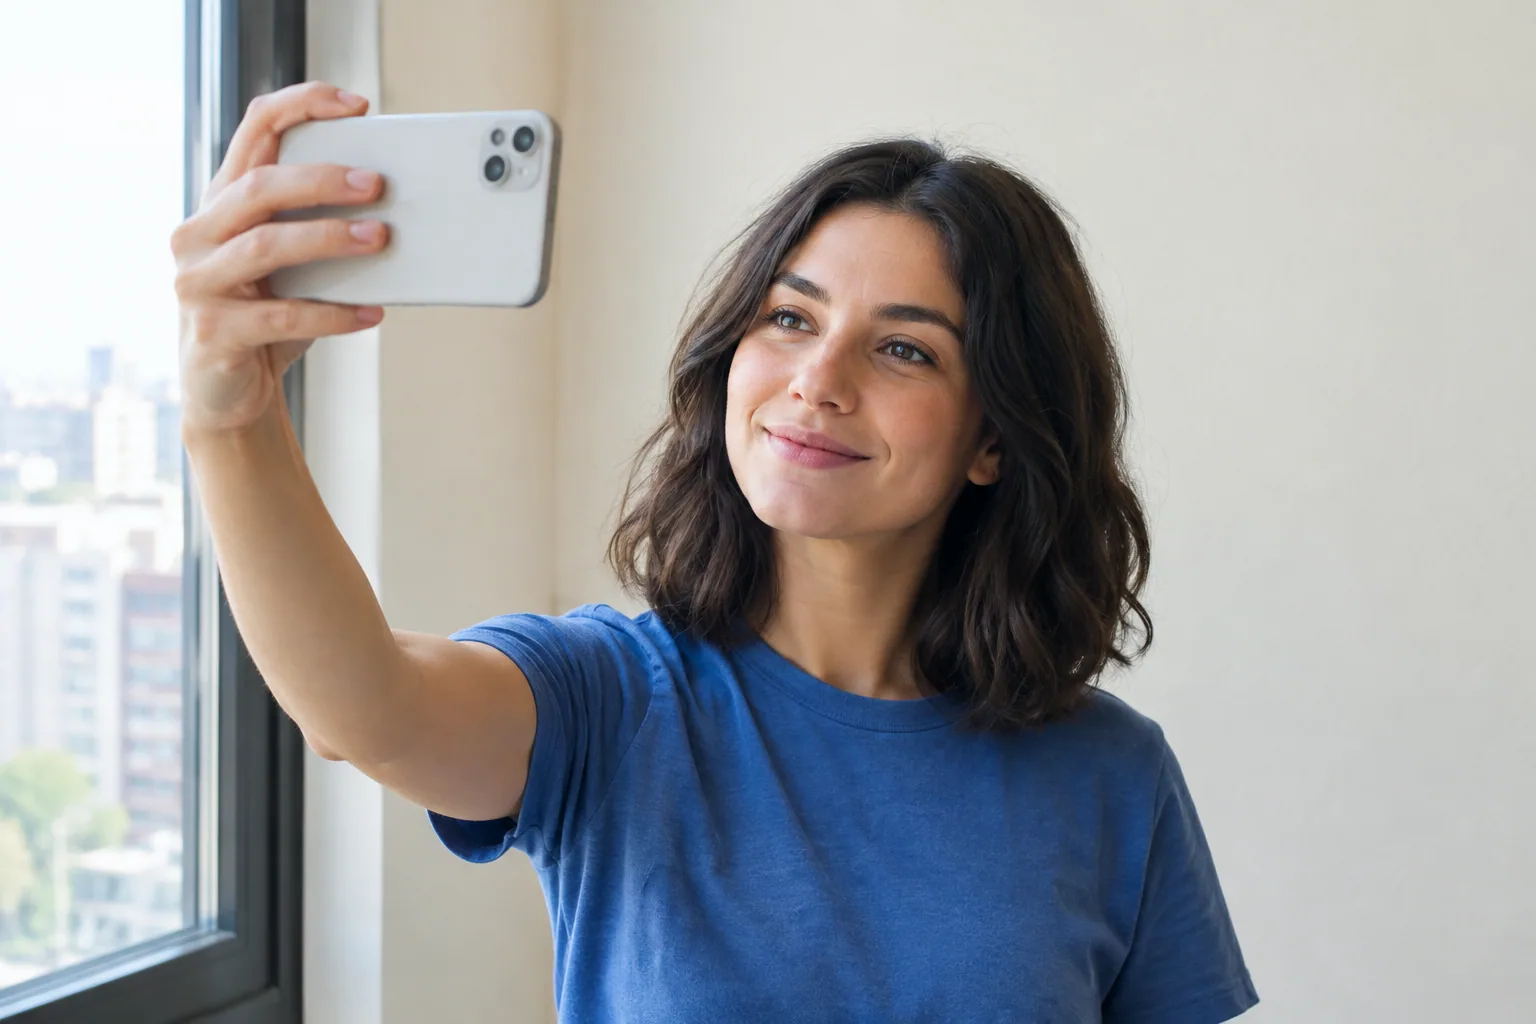
For sharper iPhone selfies, clean the lens, face a window or open shade, and hold your phone at about arm’s length, slightly above eye level. Tap your face, lower the exposure if bright areas look washed out, and take several frames while keeping the phone steady. Light and camera distance usually matter more than filters.
Take a better iPhone selfie in five quick steps
- Wipe the front camera lens. Use a clean microfiber cloth to remove fingerprints. A smudged lens can make even a well-lit photo look hazy.
- Face soft light. Indoors, turn toward a window. Outdoors, stand in open shade facing the brighter sky rather than a dark wall.
- Move the phone away. Start at a comfortable arm’s length, with the camera slightly above your eyes. Keep your face near the center of the frame.
- Check your face’s brightness. Tap your face in Camera. If your forehead or cheeks look washed out, drag the sun-shaped exposure control down a little.
- Take several photos. Relax your shoulders, look at the lens rather than your screen image, and pause briefly for each shot. Try a small smile and a neutral expression so you have a choice.
Before changing modes or adding a filter, inspect one photo. If your eyes aren’t sharp or your face is too dark, fix that while you’re still in position.
Choose the camera and settings that suit the shot
Start with the front camera; test the rear camera when detail matters
The front camera makes framing easy because you can see yourself. It’s the practical starting point for a quick profile photo or a few clear AI portrait inputs.
The rear camera may capture more detail, depending on your iPhone model, the camera selected, and the light. Don’t assume it will always produce a better selfie: an accurately framed front-camera shot can be more useful than a blurry rear-camera attempt.
To try the rear camera without a helper:
- Support your phone securely on a shelf or against a stable object, away from an edge.
- Choose Photo mode and set a timer.
- Stand in your intended position and take a test frame.
- Check the result, adjust the phone’s direction, and repeat. Use the same floor position once the framing works.
Set up framing, exposure, and the timer
- Grid: Go to Settings → Camera → Grid. Use the lines to keep your eyes level and leave balanced space around your head.
- Front-camera framing: If your Camera app shows arrows for expanding or tightening the selfie frame, use them when you need more room for your shoulders or another person. Controls and automatic framing features vary by model; check Apple’s guide to taking iPhone selfies for supported options.
- Timer: Open the Camera controls and choose a timer. Depending on your version, you may see options such as 3 or 10 seconds. Use the longer delay when you need time to step into position.
- Exposure: Tap your face, then drag the sun control up or down. Keep some visible detail in the brightest parts of your skin rather than making the whole frame as bright as possible.
Camera control placement can differ across iOS versions. If a control isn’t visible, expand the Camera controls; for settings, use the search field in Settings to find the option by name.
Set mirroring for orientation, not sharpness
Go to Settings → Camera → Mirror Front Camera to choose whether your saved selfie matches the mirrored preview. This changes left-right orientation, not image quality.
Check any visible text before posting. If a shirt logo or sign looks backward, adjust the mirroring choice or flip the saved image in editing.
Use Portrait mode only if its edges look clean
Portrait mode is optional. Start in regular Photo mode for a straightforward selfie, then try Portrait if you want background separation.
Inspect loose hair, glasses, and the outline of your shoulders. If parts of them look blurred or cut out, retake the shot in Photo mode rather than trying to hide the error with stronger effects.
Find flattering light without extra equipment
Indoors: face a window instead of putting it behind you
Stand or sit facing a window, then turn slightly if you want a little shadow on one side of your face. If direct sunlight creates harsh patches, move out of the sunbeam while staying near the window.
A bright window behind you can leave your face dark. Move yourself or turn around before raising exposure, which may wash out the background without solving the lighting problem.
Outdoors: use open shade with a view of the sky
Try the shaded side of a building or the area beneath an overhang. Face outward toward the open sky, not inward toward a dark doorway.
Avoid patches of sunlight crossing your face through leaves. If overhead light creates deep eye shadows, move farther into shade and turn toward a brighter, open area.
At night: face a soft lamp and simplify the light sources
Use a shaded lamp positioned in front of you and slightly to one side. Move yourself or the lamp until both eyes are visible without a strong shadow from your brow.
Turn off competing colored lights if one side of your face looks orange and the other blue. One consistent light source is easier to work with than a lamp, TV, and ceiling light all hitting your face at once.
On supported iPhones, Night mode activates automatically in low light, with an exposure time you can adjust. If it appears for your selected camera, stay still until the capture finishes; adding light is still the better first move for a moving subject.
Compare two photos by changing only your position
Take a photo with the window behind you. Then turn to face that same window, keeping your expression, phone distance, and mode unchanged.
Compare the detail around your eyes and the shadows under them. This simple before-and-after shows what the light is doing without confusing the result with a new filter or camera setting.
Use distance and framing instead of extreme angles
A camera very close to your face makes nearby features look larger relative to features farther away. Move the phone farther back before deciding that a different angle is the answer.
Start at arm’s length. If that still feels too tight, support the phone farther away and use the timer, then crop modestly afterward. Avoid strong digital zoom, which won’t restore detail that wasn’t captured.
Keep your face away from the frame’s edges and leave a little room above your hair. Take one shot at eye level and another slightly above it, then compare them instead of assuming one height suits everyone.
- Seated example: Sit facing a window, relax your shoulders, and support your phone near eye level. Turn your torso slightly while keeping your gaze toward the lens.
- Standing example: Stand in open shade, shift your weight comfortably, and hold the phone far enough away to include your shoulders. Try both a straight-on position and a small body turn.
For an outfit-focused photo or a wider view, use this separate guide to taking a good mirror selfie rather than forcing everything into a tight front-camera frame.
Fix blurry, grainy, or unnatural-looking selfies
Check the original in Photos before blaming the camera. If it looks clear there but soft in a message or uploaded post, the sharing process may have reduced its quality.
| What you see | Likely cause | What to try next |
|---|---|---|
| Smeared eyes or facial outlines | Phone or subject movement | Add light, support the phone, and pause during capture |
| Haze or streaks around lights | A smudged lens | Clean the lens and retake the photo |
| Grain or muddy detail | Too little light | Move toward a window or face a brighter lamp |
| A dark face with a bright background | Backlighting | Turn toward the light or change position |
| Missing hair or blurred glasses edges | Portrait-mode separation errors | Switch to Photo mode |
| Unexpected left-right orientation | Mirroring preference | Check Mirror Front Camera or flip the saved image |
| Sharp original, soft shared copy | Compression during sharing or uploading | Upload from the original file; avoid screenshots and repeated resaving |
Small exposure and crop adjustments can improve a usable photo. They can’t reliably recover eyes blurred by movement or skin detail missing from a dark capture, so retake those shots while you have the setup ready.
Choose which selfies to post or use for AI portraits
Open your favorites at a larger size and check:
- Sharp eyes: Eyelashes and eye outlines should look clear, not smeared.
- Natural skin detail: Avoid heavy smoothing or filters that obscure your features.
- Clean framing: Check for cropped hair, distracting objects, and Portrait-mode errors.
- A familiar expression: Pick a photo that feels like you, not only the one with the strongest effect.
Keep the original file. For AI portrait inputs, choose a few clear photos of yourself with varied angles, including a straight-on view and gentle turns, rather than several near-identical frames. Use this input-selfie selection guide to narrow down your set.
If you want styled portraits, Selfie AI uses a few of your own selfies to create a personalized model for categories such as professional, vacation, and formal portraits. The AI selfie app guide explains that next step, but start with clear captures rather than expecting generation to compensate for poor inputs.
For your next attempt, face a window and take three frames at eye level, then three slightly above it. Compare the originals for sharp eyes and even light before choosing what to post or upload.